




A Complete Guide to Testing Capacitor Quality
 May 12, 2026|
 1. Testing Capacitors Below 10 pF
Fixed capacitors with capacitance values below 10 pF have extremely small capacitance, making precise measurement difficult with ordinary analog multimeters. In most cases, the multimeter can only be used for basic qualitative inspection, such as checking for leakage, internal short circuits, or dielectric breakdown.
Testing Method
- Set the analog multimeter to the R×10k resistance range.
- Connect the two probes to the capacitor terminals in any order.
- Observe the pointer movement.
Result Analysis
- Under normal conditions, the resistance reading should remain at infinity.
- If the pointer swings to the right and indicates zero resistance, the capacitor may have:
Leakage current
Internal short circuit
Dielectric breakdown
Because ultra-small capacitors are highly sensitive, a dedicated capacitance meter is recommended for accurate testing.
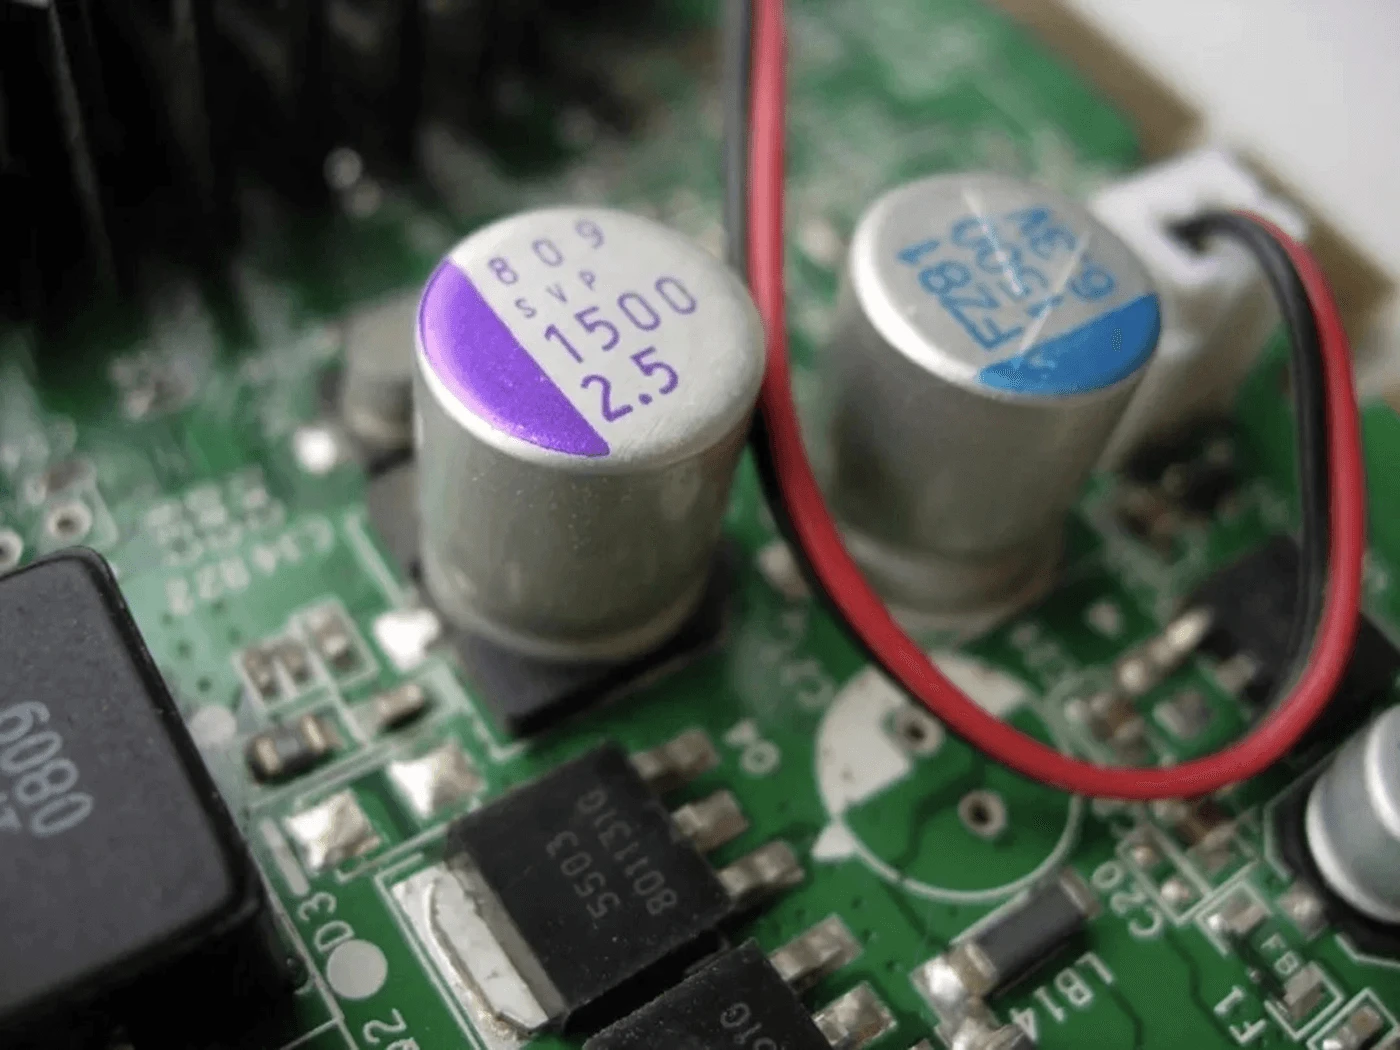 2. Testing Capacitors Above 0.01 μF
For fixed capacitors larger than 0.01 μF, an analog multimeter can be used to observe the capacitor charging process and identify common faults.
Testing Method
- Set the multimeter to the R×10k range.
- Connect the probes to the capacitor terminals.
- Observe the pointer deflection.
Normal Performance
The pointer should:
- Swing briefly to the right
- Gradually return toward infinity
- This behavior indicates that the capacitor is charging normally.
Fault Indications
- Pointer remains at zero → possible short circuit
- Pointer does not move → possible open circuit or capacitance failure
- Pointer stabilizes at low resistance → possible leakage deterioration
The magnitude of the pointer deflection can also provide a rough estimate of the capacitance value. Larger deflection generally indicates larger capacitance.
How to Test Electrolytic Capacitors
Electrolytic capacitors have much larger capacitance values than ordinary fixed capacitors, so different resistance ranges should be selected during testing.
Recommended Multimeter Ranges
|
Capacitor Value |
Recommended Range |
|
1 μF – 47 μF |
R×1k |
|
Above 47 μF |
R×100 |
Standard Testing Procedure
Step 1: Connect the Probes
- Red probe → negative terminal
- Black probe → positive terminal
Step 2: Observe Pointer Movement
At the moment of contact:
- The pointer should swing sharply to the right
- Then gradually move back toward the left
- Finally stabilize at a certain resistance value
- Under the same resistance range, larger capacitance produces greater pointer deflection.
How to Judge Capacitor Quality
Normal Capacitor
- Clear charging movement
- Pointer gradually returns
- Final resistance is relatively high
Short-Circuited Capacitor
Pointer remains at zero resistance
Open-Circuit Capacitor
Pointer does not move at all
Leaking or Deteriorated Capacitor
- Final resistance value is abnormally low
- The stabilized resistance value represents the capacitor's forward leakage resistance, which is normally slightly higher than the reverse leakage resistance. In practical applications, a qualified electrolytic capacitor should generally have a leakage resistance of several hundred kilo-ohms or higher.
How to Identify Electrolytic Capacitor Polarity
For capacitors without clear polarity markings, the leakage resistance method can be used.
Procedure
- Connect the probes arbitrarily and measure the resistance.
- Reverse the probes and measure again.
- Compare the two readings.
Result
- The connection showing the higher resistance value is the correct forward connection:
- Black probe → positive terminal
- Red probe → negative terminal
Estimating Capacitance with a Multimeter
By charging the electrolytic capacitor in both forward and reverse directions using the resistance range of a multimeter, the approximate capacitance can be estimated from the pointer deflection.
General Rule
Larger pointer deflection = larger capacitance value
Although this method is not highly precise, it is useful for quick field inspection and troubleshooting.